
Sculpt and AI Vertex Paint
Development of generative AI images and video has accelerated over the past year, generated 3D Meshes are not too far behind. Despite being out in front, even 2D generated images have issues such as multiple finger syndrome or other body related anomalies. All perfectly fine, progress has been made with additions such as ControlNet to constrain the generation based on the parameters set by artists. However it’s still not perfect and we are still at the stage of perfecting consistent, faultless 2D images.
3D Meshes (Text to 3D) have an even steeper uphill struggle, but I do think on its current trajectory we will see it creating high quality 3D prints, before being used as an ‘out of the box’ solution in games. It's not to say it won’t happen (quite the opposite), but having worked in the games industry, speed, quality and clean up cost are things to factor in - it doesn't tick all the boxes at the moment.
In this blog I'll discuss 3D characters in their sculpted, high poly or voxelized form as ‘most’ Text to 3D AI Gen meshes, consist of this high poly density when generated, complete with texture. I do have to put a caveat on that last sentence as things are progressing so quickly. I have seen more recent products where lower poly (quad) cages are being output too. Very exciting to see this development tackle topology head on.
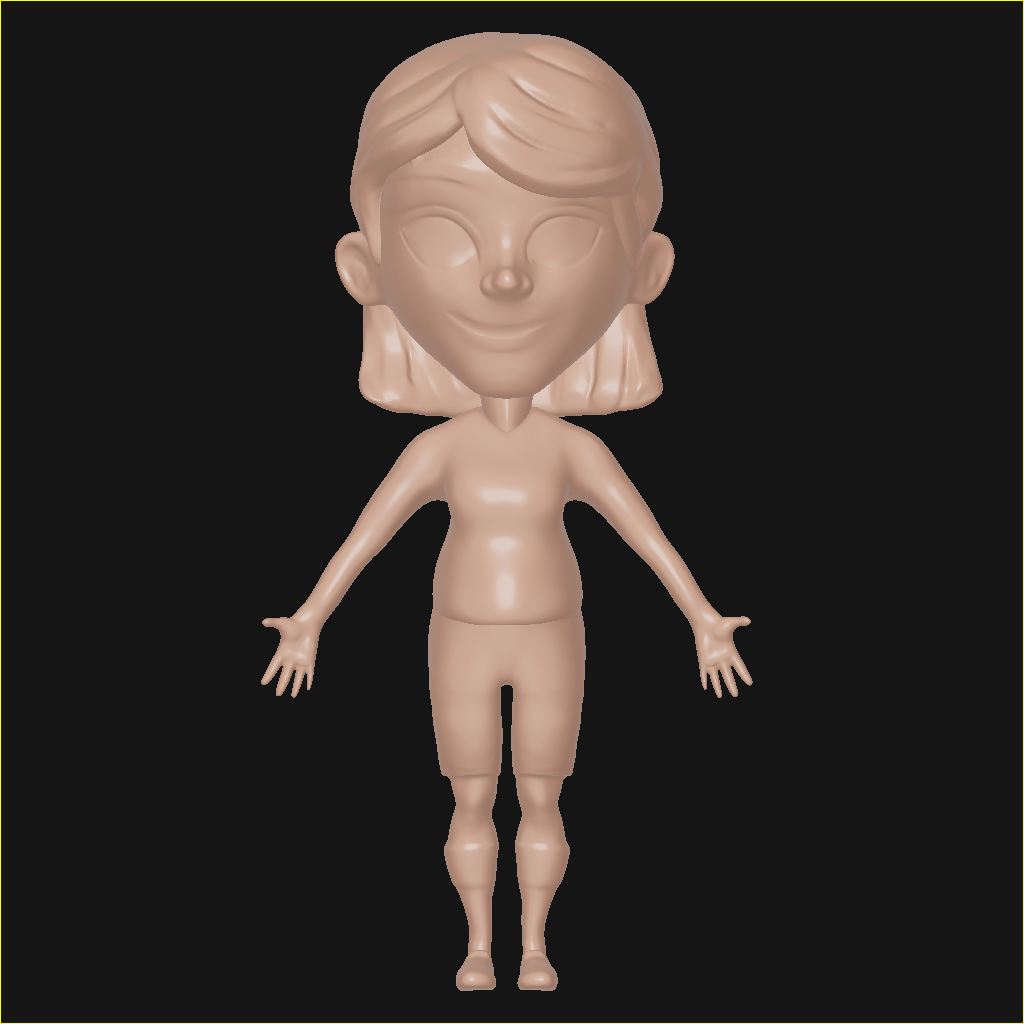
Below I've created a quick sculpt of this character, it has the proportions and shapes I'm looking for, there's no need to go into into any more details on the sculpting level. At this stage I just need to get the basics down and keep the process fluid. I indicate hair direction, face features and make sure hands face palm out (this helps with front/back texturing on the sculpt)
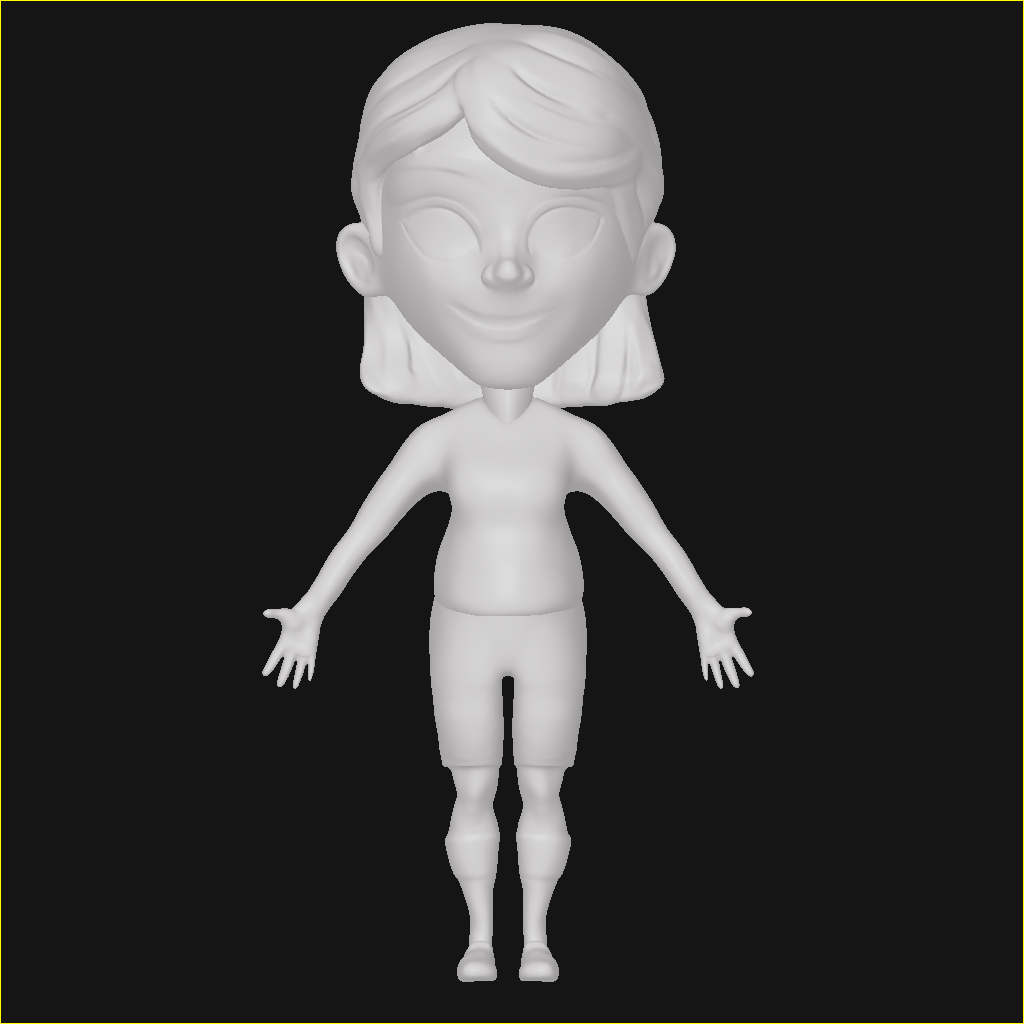
Below I changed the shader inside of 3D-Coat to a white, this helps to show colours slightly better on the model.
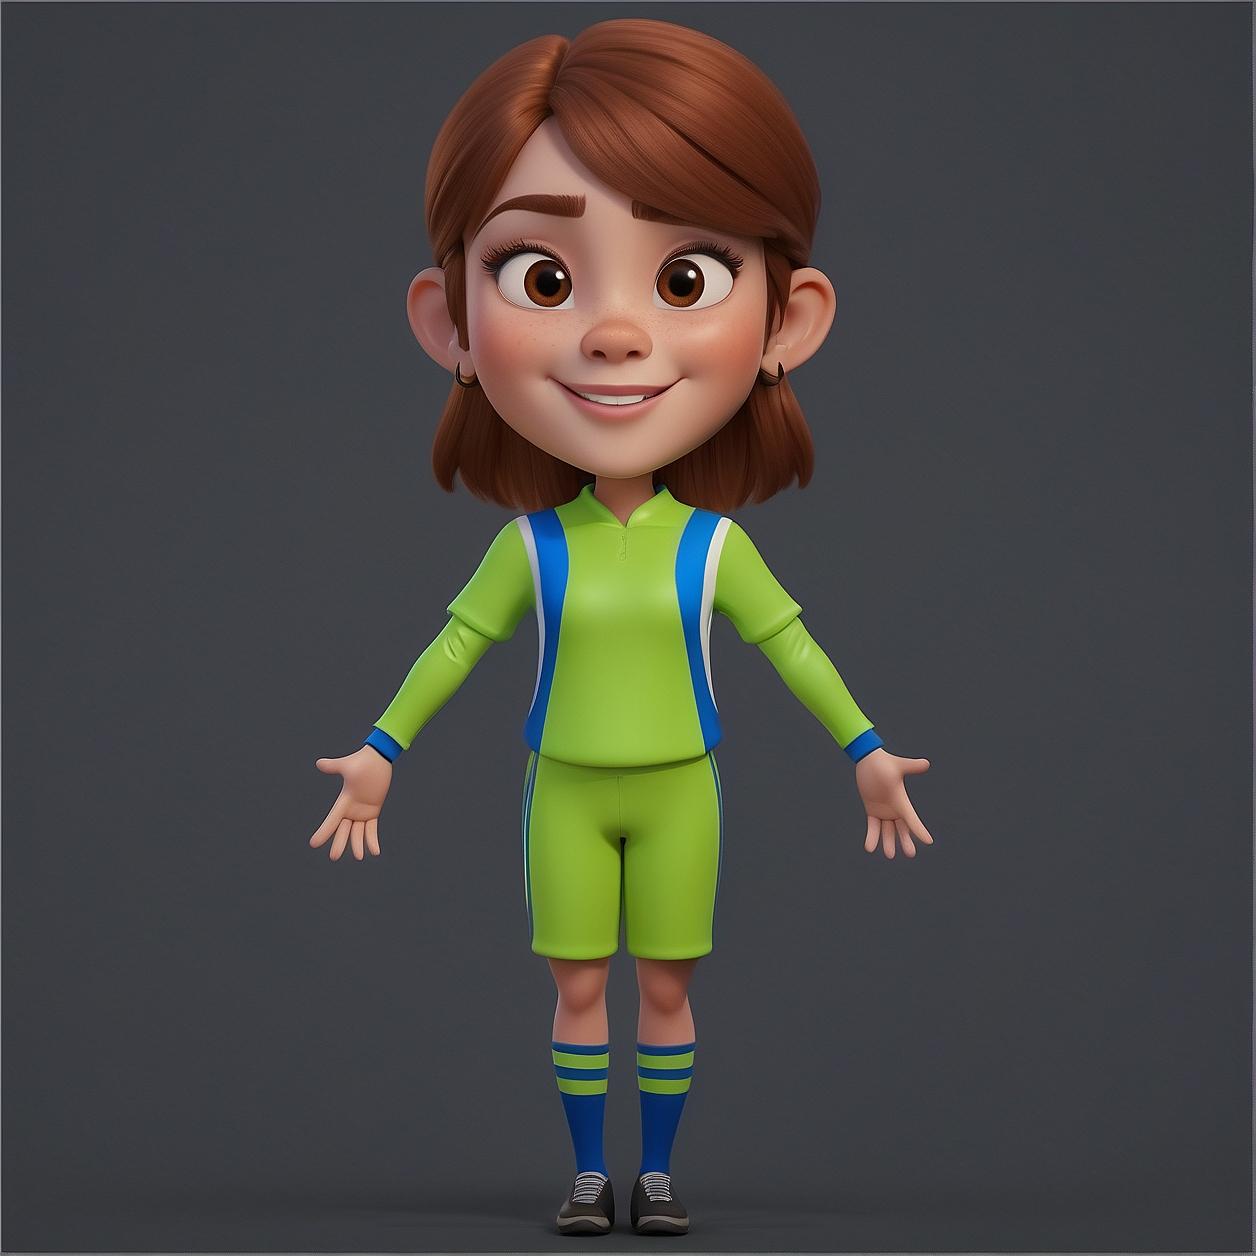
Next I paint vertex/polypaint to block in details. This vertex paint helps to add design details and at the same time generate the noise needed for the AI. Essentially I now have a form, detail and colour information. Again this is a quick process and can be sped up even more, if for example you have a modular system of body pieces to 'construct' a character.
As you can see there is no fine details here, just identifying a few parameters, the colours are a starting point only. The idea is to explore AI variations using Leonardo.ai and then see the results in 3D.
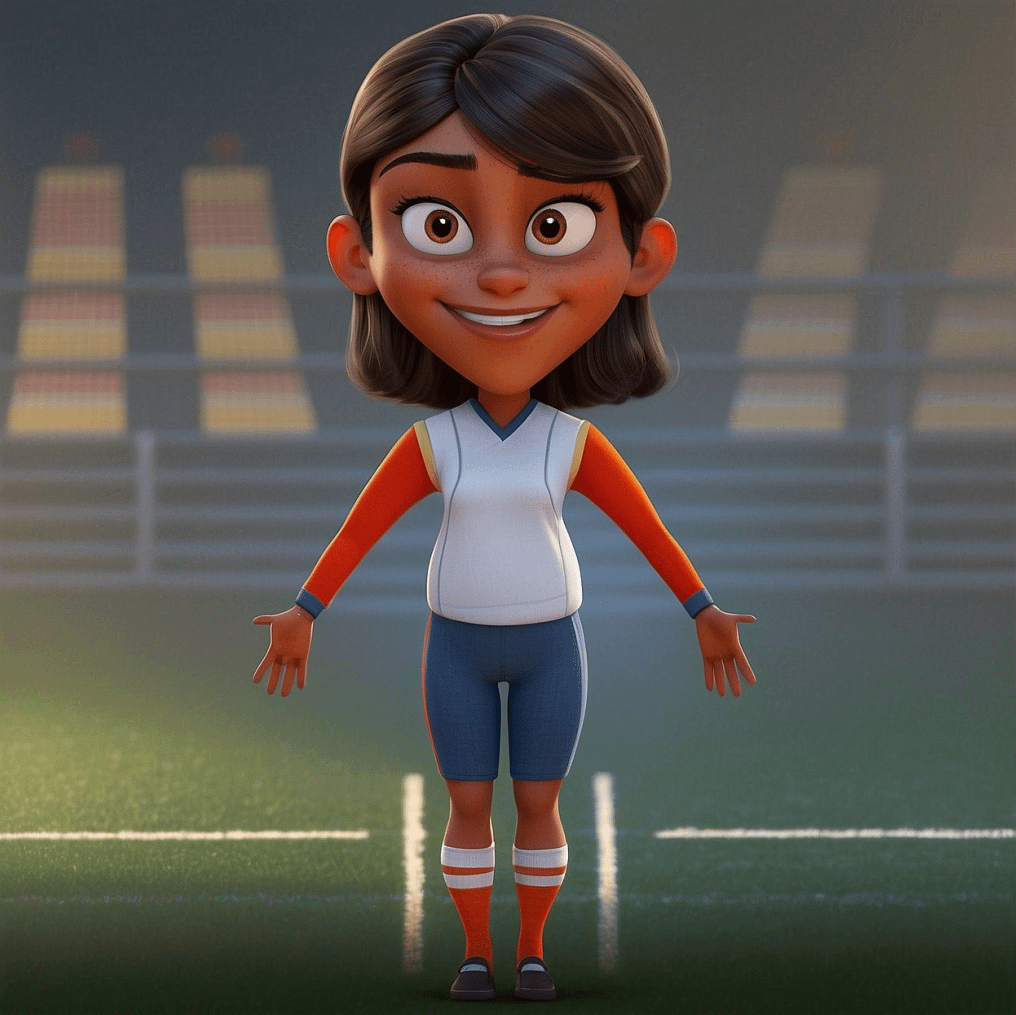
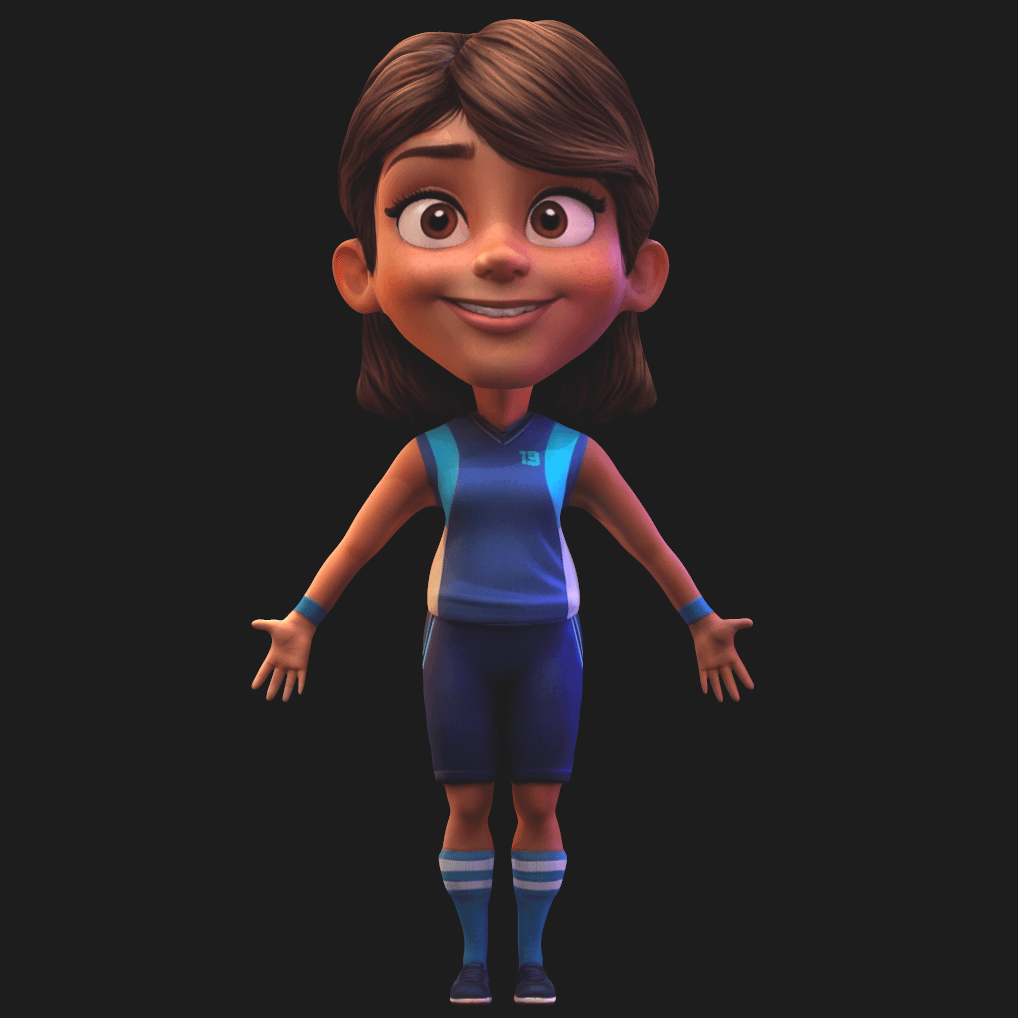
The image I chose used a different t-shirt. If the t-shirt was important to the project, I could have in-painted sleeves or used the outfit design from a variation. However I liked this outfit so I went with it. It is important to understand that any of the variations can be used instantly on the sculpt to evaluate how well they would work.
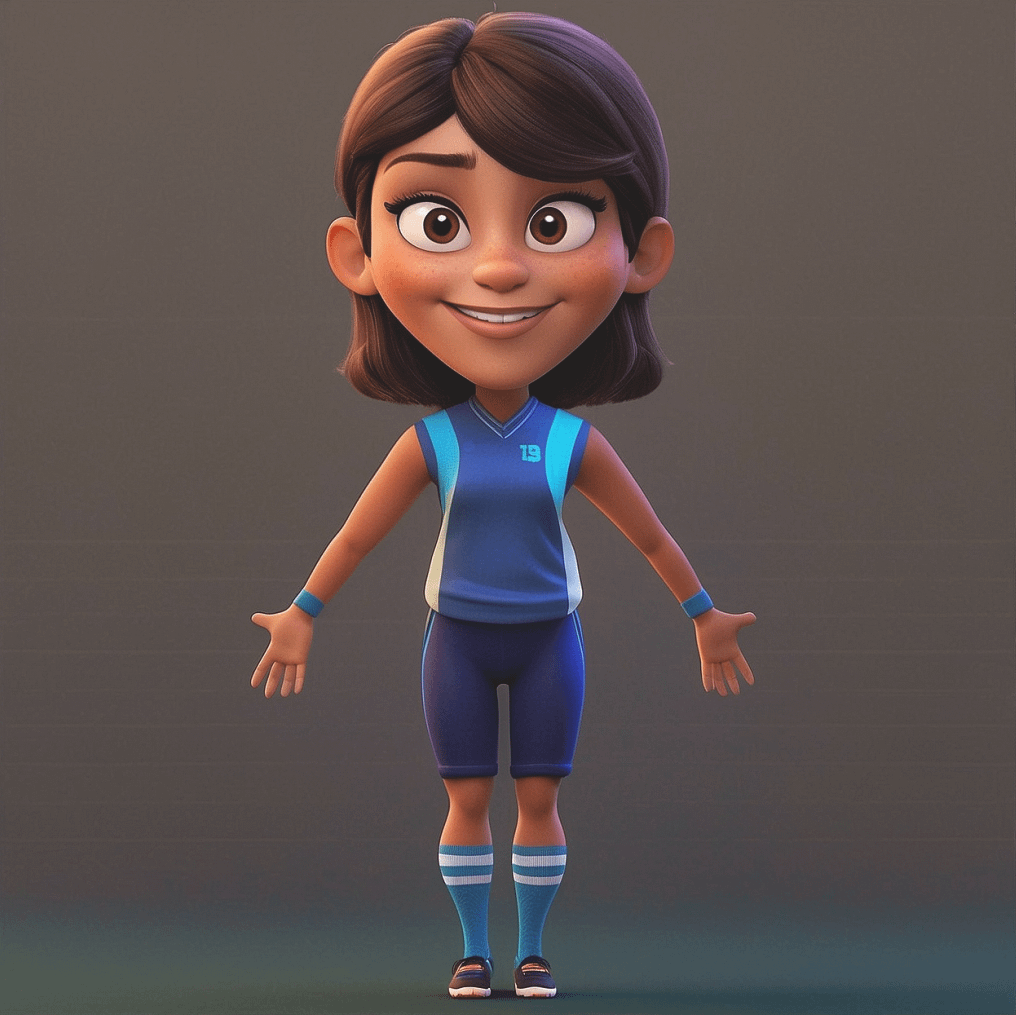
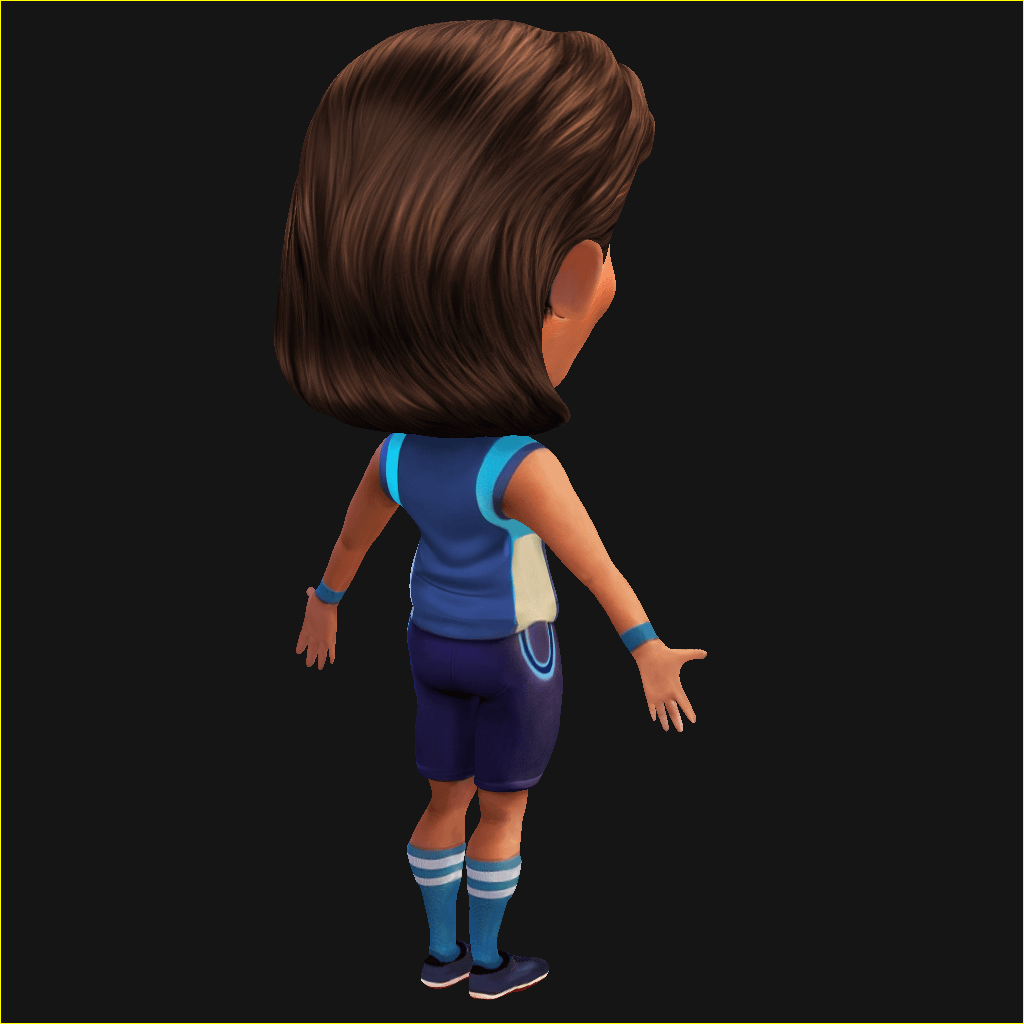
Using the same seed and prompt I then generated both a side view and a back view. These views are then transferred/projected onto the sculpt as vertex/polypaint. It is important to understand that a sculpt mesh does need a fairly dense mesh to capture fine details. Vertex painting on a low poly mesh will produce a very blurry result. Once the views have been successfully transferred to the sculpt then there is a small amount of clean up on edge overlaps between the views. There is also a need at times to colour balance between projections, which is very easy inside most 3D Apps. In this example I decided to keep the baked lighting (pink/purple) but it is possible to get more neutral lighting from the prompt stage.
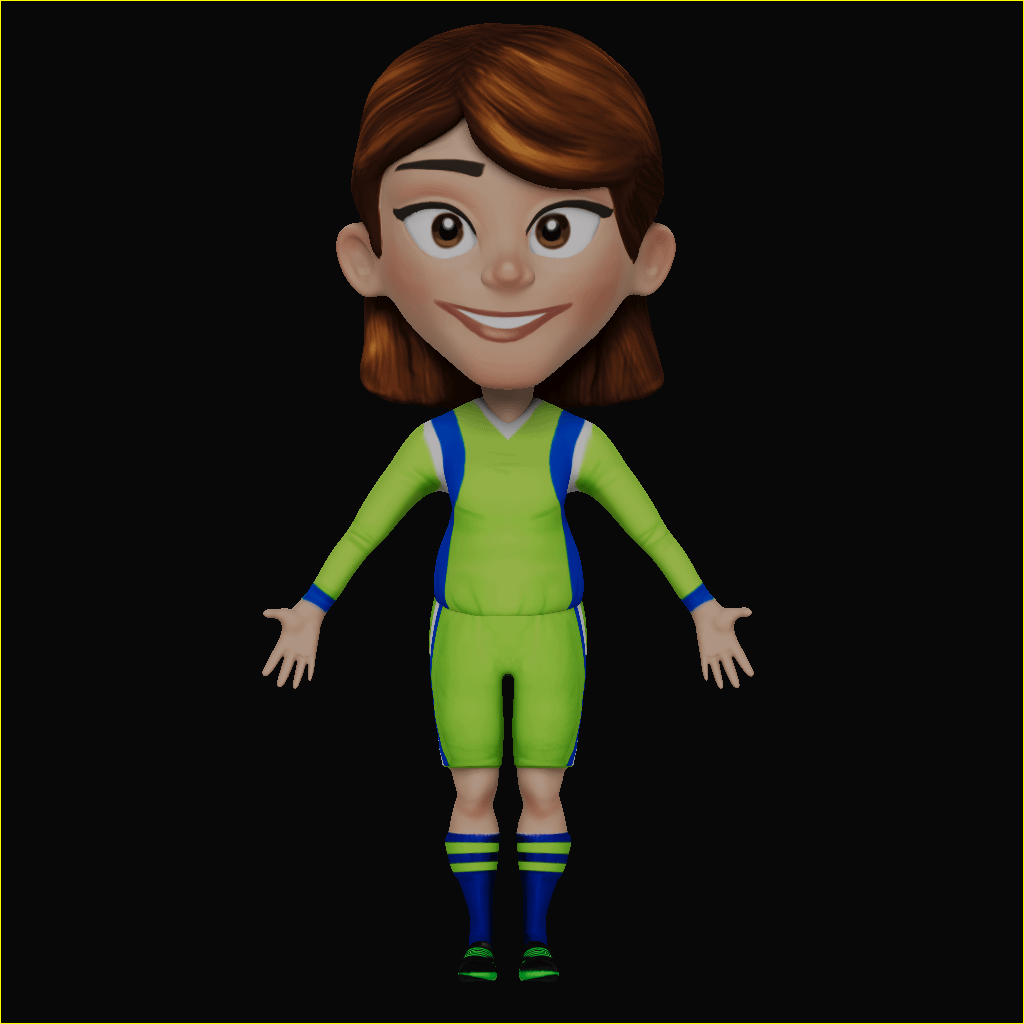
The result gives a high quality 360 turnaround. I can mask certain aspects of the paint layers to change colour in real time. Alternatively using modular (kitbash) assembly methods to character creation can help top isolate areas of a design and iterate each part. For example the boots or shorts.
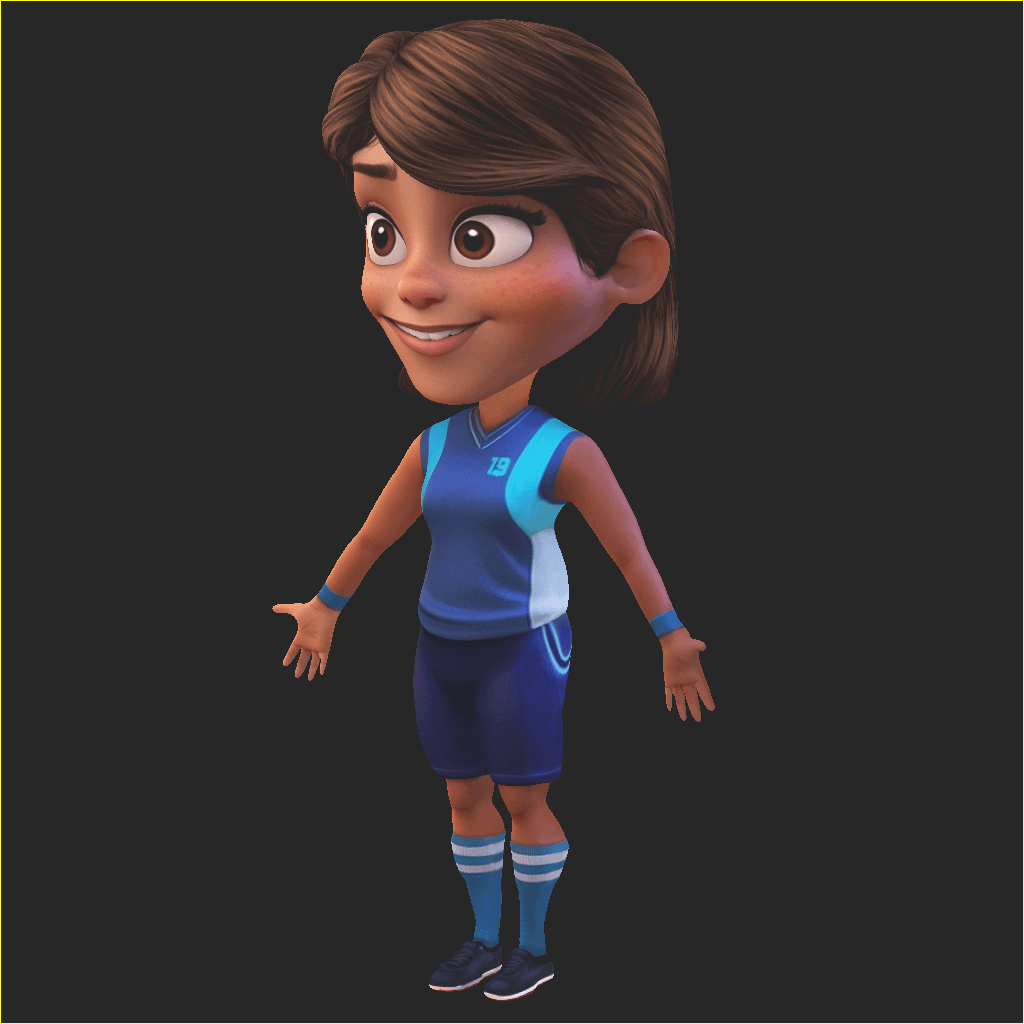
Here's a quick render from Marmoset Toolbag 3.08. I simply imported the sculpt mesh into Toolbag and set the shader options for Albedo to Vertex Colour then positioned a few lights to match the baked colours.
3D Meshes (Text to 3D) have an even steeper uphill struggle, but I do think on its current trajectory we will see it creating high quality 3D prints, before being used as an ‘out of the box’ solution in games. It's not to say it won’t happen (quite the opposite), but having worked in the games industry, speed, quality and clean up cost are things to factor in - it doesn't tick all the boxes at the moment.
In this blog I'll discuss 3D characters in their sculpted, high poly or voxelized form as ‘most’ Text to 3D AI Gen meshes, consist of this high poly density when generated, complete with texture. I do have to put a caveat on that last sentence as things are progressing so quickly. I have seen more recent products where lower poly (quad) cages are being output too. Very exciting to see this development tackle topology head on.
Below I've created a quick sculpt of this character, it has the proportions and shapes I'm looking for, there's no need to go into into any more details on the sculpting level. At this stage I just need to get the basics down and keep the process fluid. I indicate hair direction, face features and make sure hands face palm out (this helps with front/back texturing on the sculpt)

Below I changed the shader inside of 3D-Coat to a white, this helps to show colours slightly better on the model.
Next I paint vertex/polypaint to block in details. This vertex paint helps to add design details and at the same time generate the noise needed for the AI. Essentially I now have a form, detail and colour information. Again this is a quick process and can be sped up even more, if for example you have a modular system of body pieces to 'construct' a character.

As you can see there is no fine details here, just identifying a few parameters, the colours are a starting point only. The idea is to explore AI variations using Leonardo.ai and then see the results in 3D.


The image I chose used a different t-shirt. If the t-shirt was important to the project, I could have in-painted sleeves or used the outfit design from a variation. However I liked this outfit so I went with it. It is important to understand that any of the variations can be used instantly on the sculpt to evaluate how well they would work.

Using the same seed and prompt I then generated both a side view and a back view. These views are then transferred/projected onto the sculpt as vertex/polypaint. It is important to understand that a sculpt mesh does need a fairly dense mesh to capture fine details. Vertex painting on a low poly mesh will produce a very blurry result. Once the views have been successfully transferred to the sculpt then there is a small amount of clean up on edge overlaps between the views. There is also a need at times to colour balance between projections, which is very easy inside most 3D Apps. In this example I decided to keep the baked lighting (pink/purple) but it is possible to get more neutral lighting from the prompt stage.
The result gives a high quality 360 turnaround. I can mask certain aspects of the paint layers to change colour in real time. Alternatively using modular (kitbash) assembly methods to character creation can help top isolate areas of a design and iterate each part. For example the boots or shorts.

Here's a quick render from Marmoset Toolbag 3.08. I simply imported the sculpt mesh into Toolbag and set the shader options for Albedo to Vertex Colour then positioned a few lights to match the baked colours.
