
MODEL TO AI IMAGE - SCI-FI
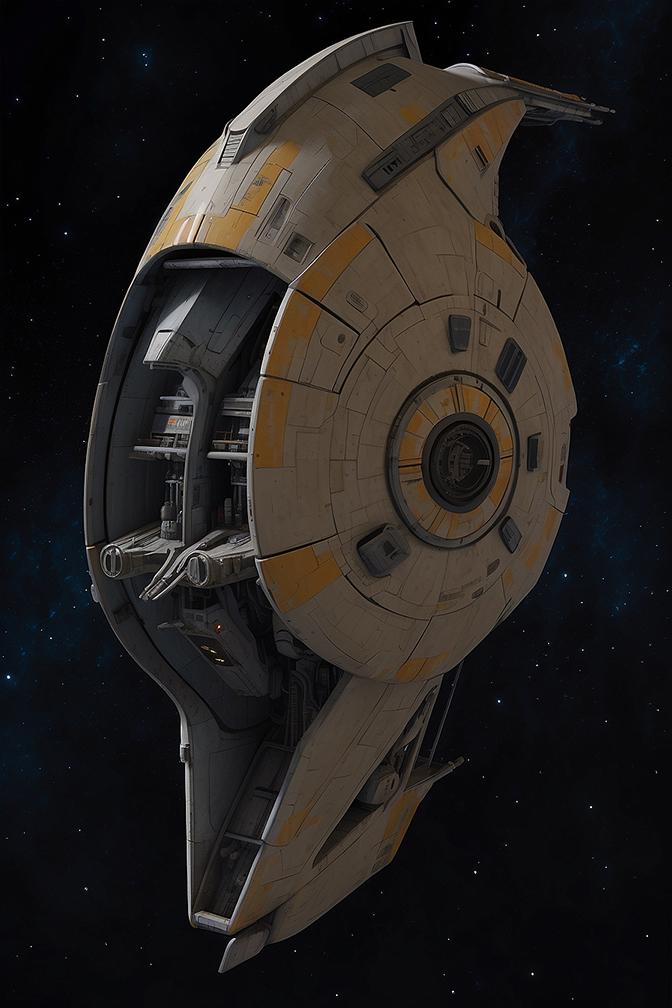
This started off as personal project again based on a sketch, but originally I tried to create a 3D model from a profile sketch of a spaceship. The idea behind the sketch was inspiration from the original Slave One spaceship from Empire Strikes Back. I wondered how an earlier ship would have looked years before the Star Wars timeline as we know it - although keeping up with this is challenging.
So the Slave Zero concept was drawn (middle image) and I tried to create a low poly model as a way to test 3D-Coat's relatively new modelling room. I basically wanted to test the pipeline, remaining inside 3D-Coat for the whole of the process (minus the sketching stage).
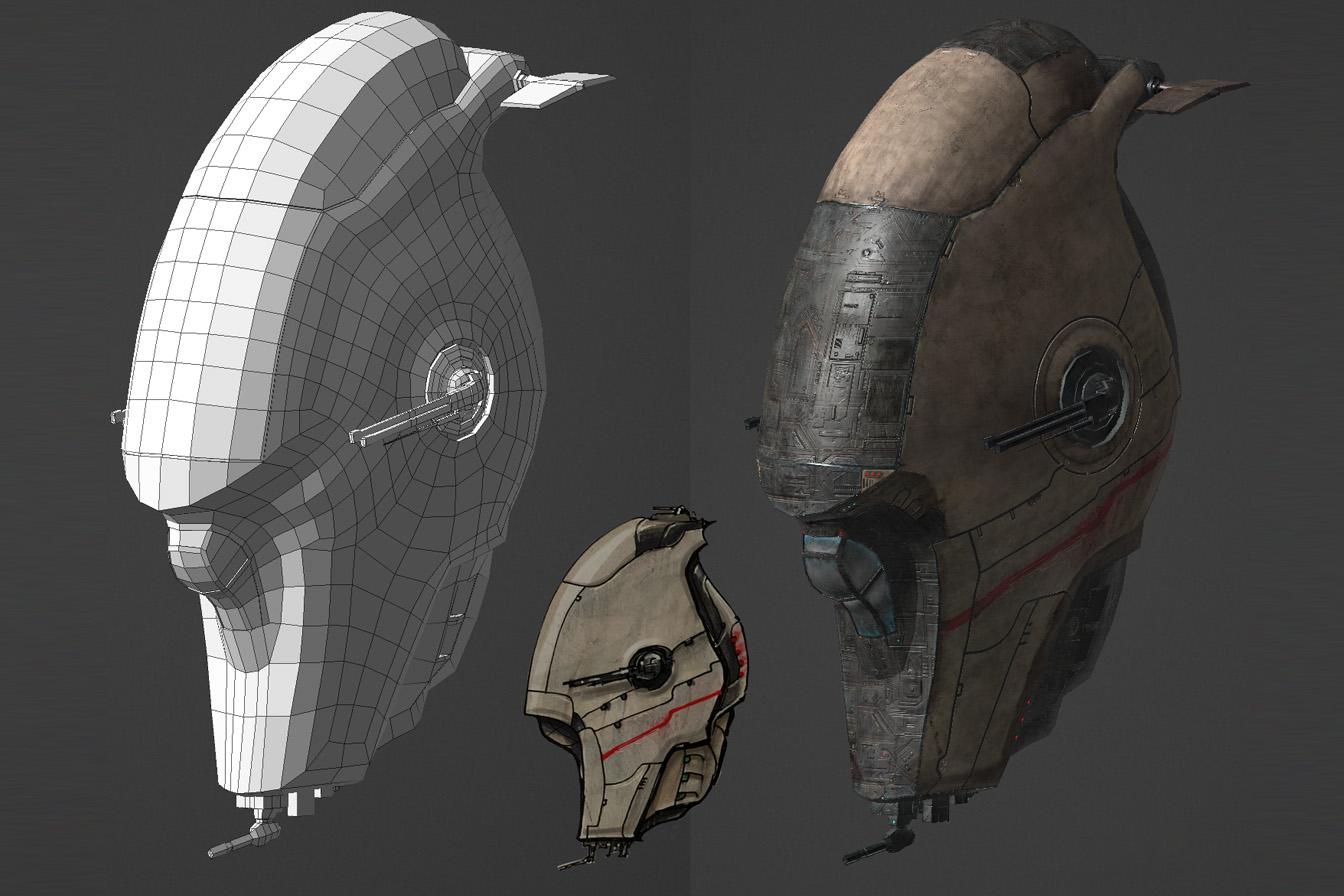
Needless to say, I set myself tricky task, as I didn't have the front view and the modelling tools were a little unfamiliar at the time. However I eventually got something I was happy with and then progressed to throw some grungy textures on there which were a mixture of repeating textures and projections from the sketch. This part didn't go that well, and in hind sight could have been approached in a better way.
On that point, its fair to say having a good idea of what you want at the beginning, is always a good starting point. I think I was trying to achieve too many different things at the same time, and ended up making a bit of a mess. Anyway... lesson learnt :)
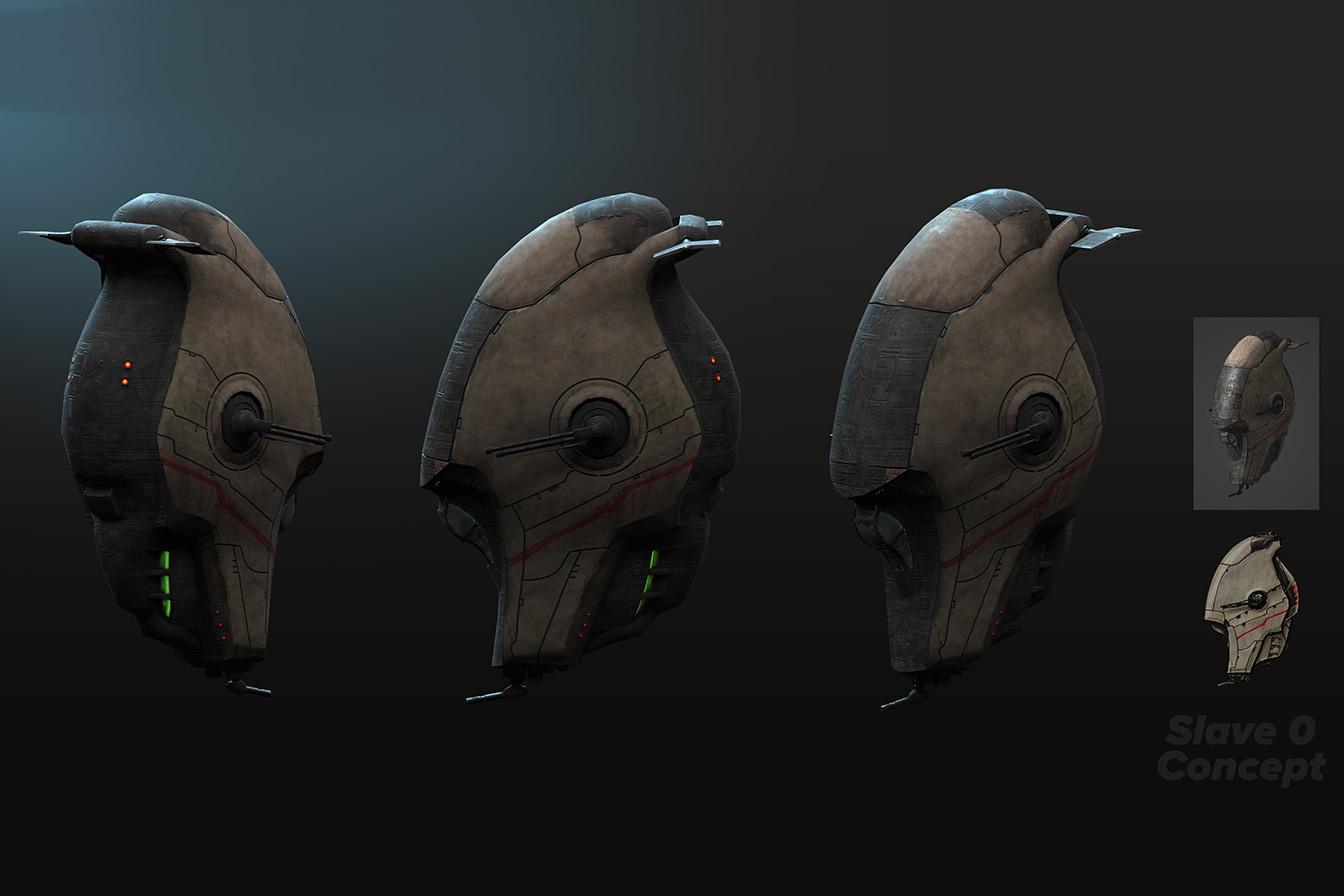
So (as by now, you're probably expecting) I decide to try and give this idea/model a re-visit, using my old pal, Leonardo AI. I didn't want to start the model & texture again, although it was very tempting. Instead I took the existing asset and set up a render in 3D-Coat used that as a starting point. I used a star field background and added a few lights just to try and help push the shape a little.
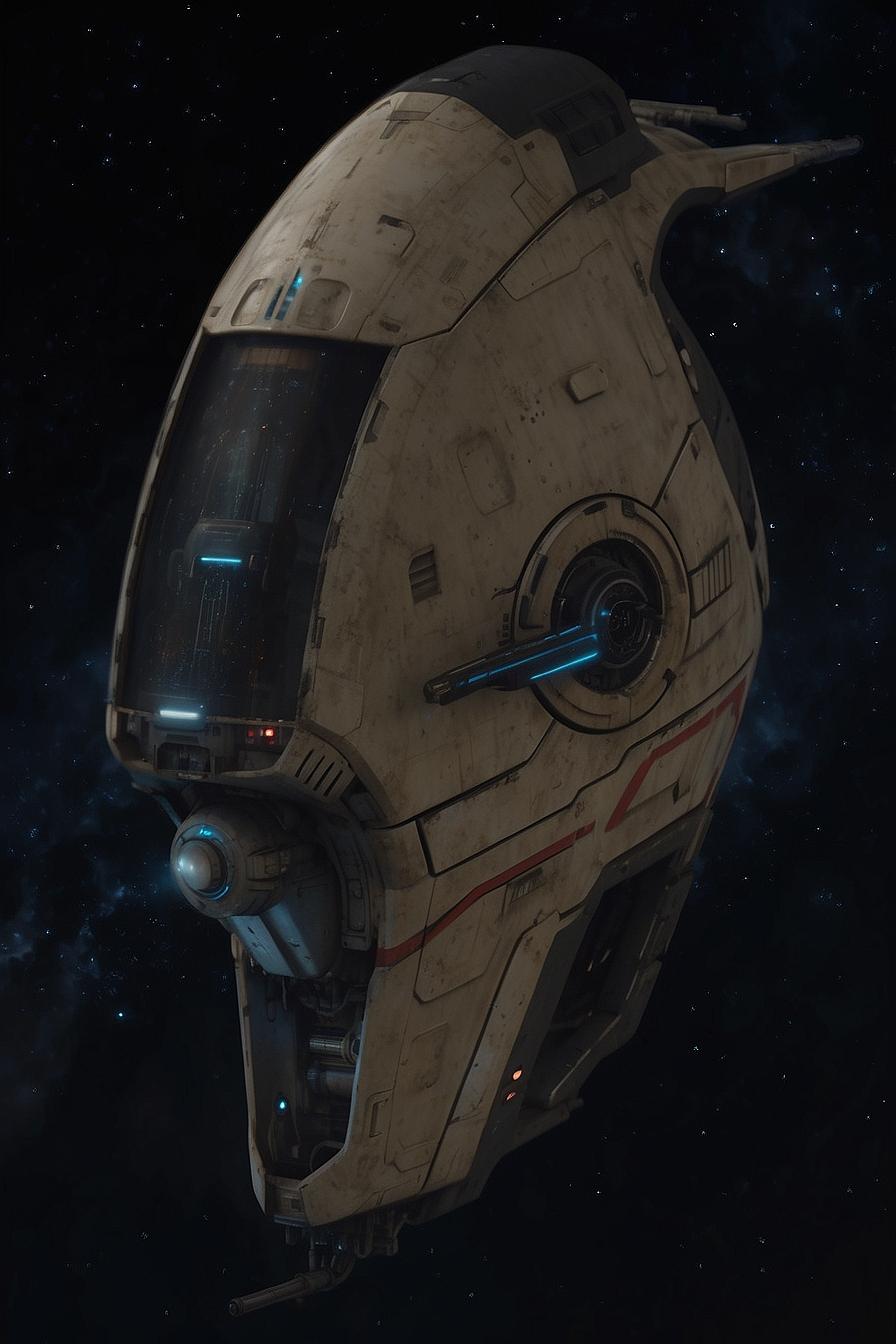
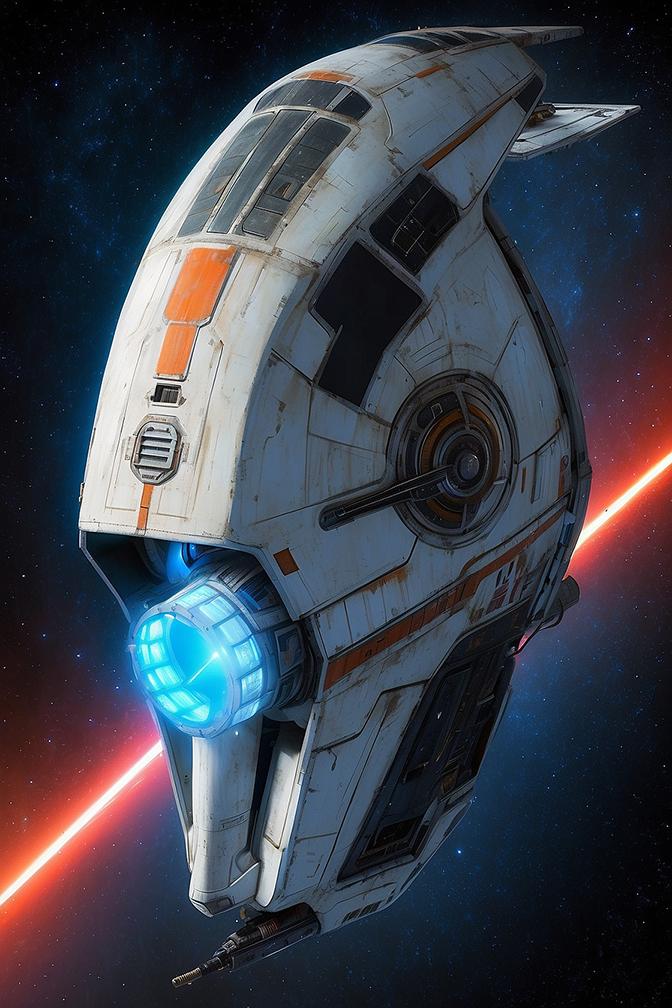
Using Image to Image I started using a strong value, keeping the results close to the original image. The results were interesting as it cleaned up the messy texture on the original. I specified the hull had grungy, well worn panelling (like most Star Wars vehicles) and it helped to visualise that.
I possible technique to a pre-texturing stage for your asset would be to throw on some ideas in terms of colour, bump etc and use that to experiment with what texture you actually want for your model. If I'd of followed this step originally, I would have thought a little more carefully and experimented a little more before committing the paint brush... AI you arrived on the scene a little late :) I really liked how it tightened the lines and added those 'greebles', to give it more solidity.
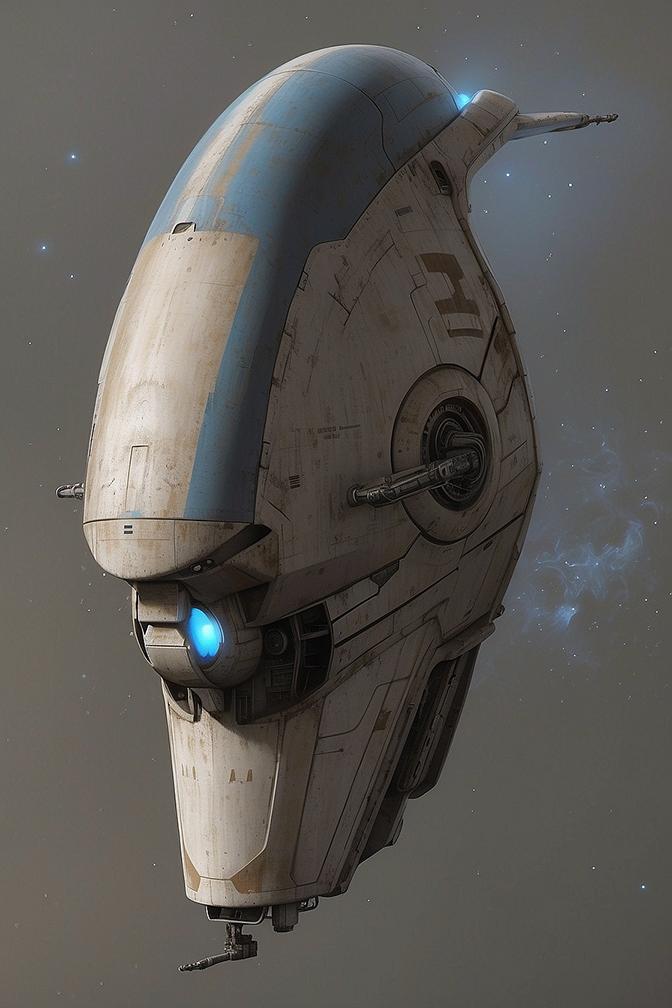
However I decided to push a little further and give it little more freedom, just to see what it would come up with. I do try to balance this process, as I know it will go crazy and give me maybe something wonderful, but not what I'm looking for. Here are some of the results...
They are all interesting variations, but not what I was looking for. Instead I tried to changed the prompt and added another control net module to the process. Instead of using Image to Image I decided to try Edge to Image and Depth. Remembering my previous blog post, it helped alot and I started to get more consistency with each output...
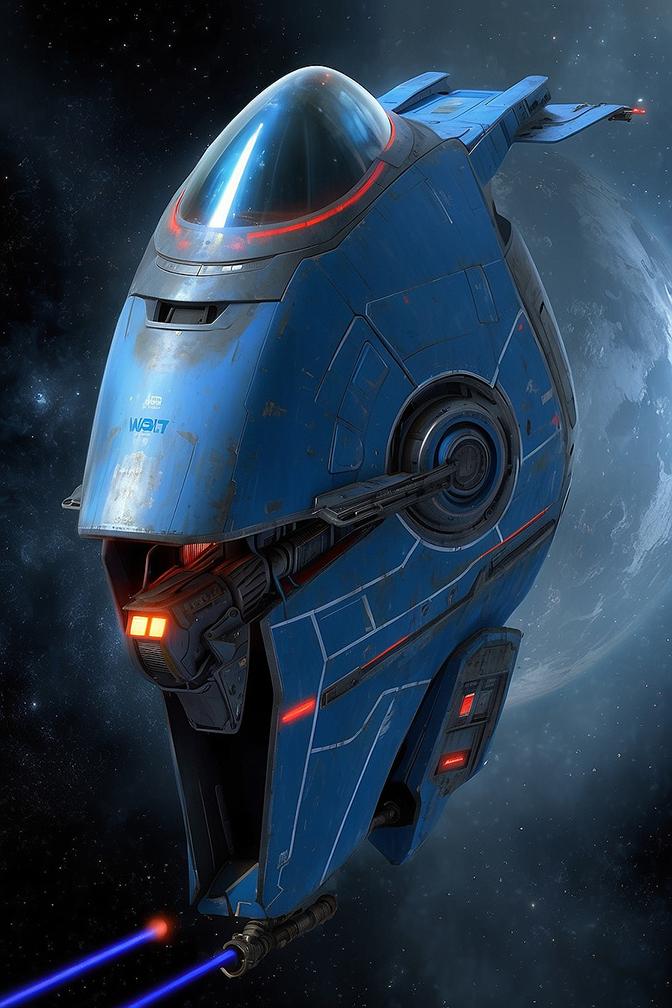
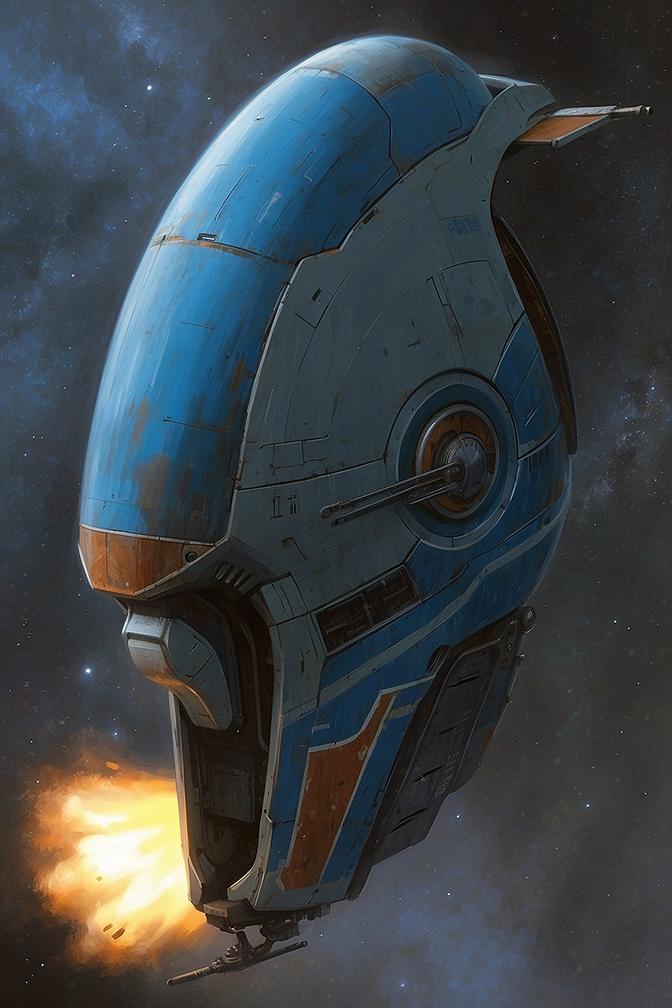
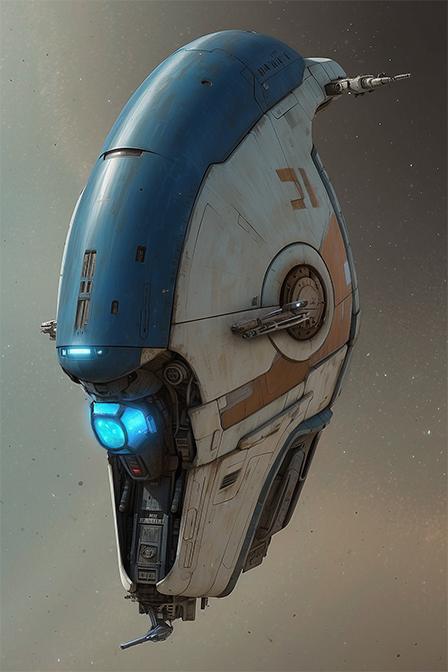
I thought this image was interesting to included as it gave a more illustration, painted quality to it, it was an early test where the model was angled slightly differently.
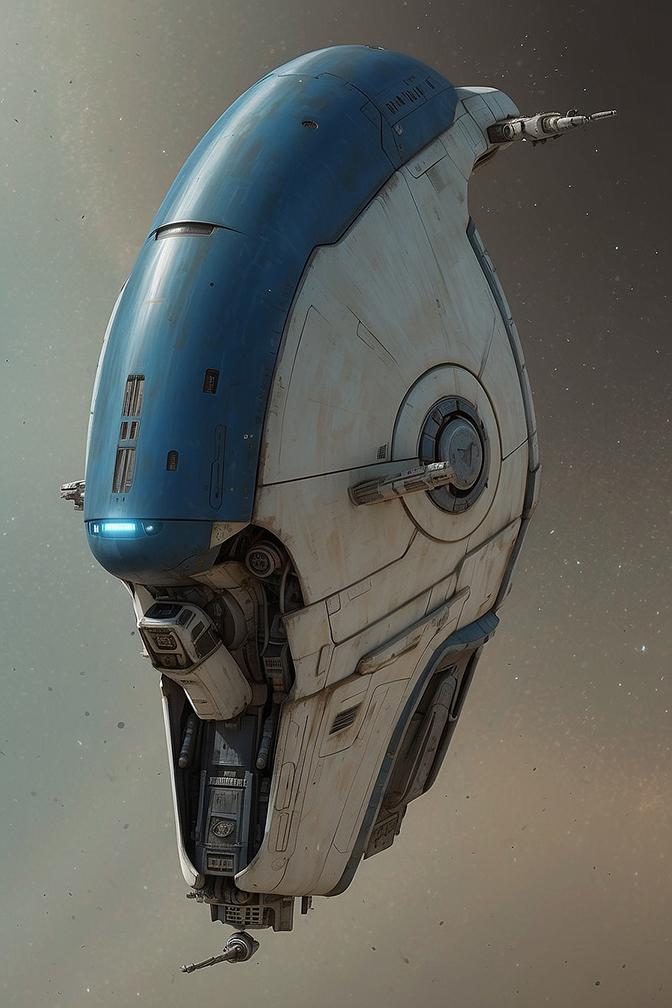
After running more of these through I was getting to a point where I felt I could cherry pick areas which I liked from a selected few and composite a new image which I would then upscale, allowing Leonardo to just tweak the upscale a little more in terms of creative input.
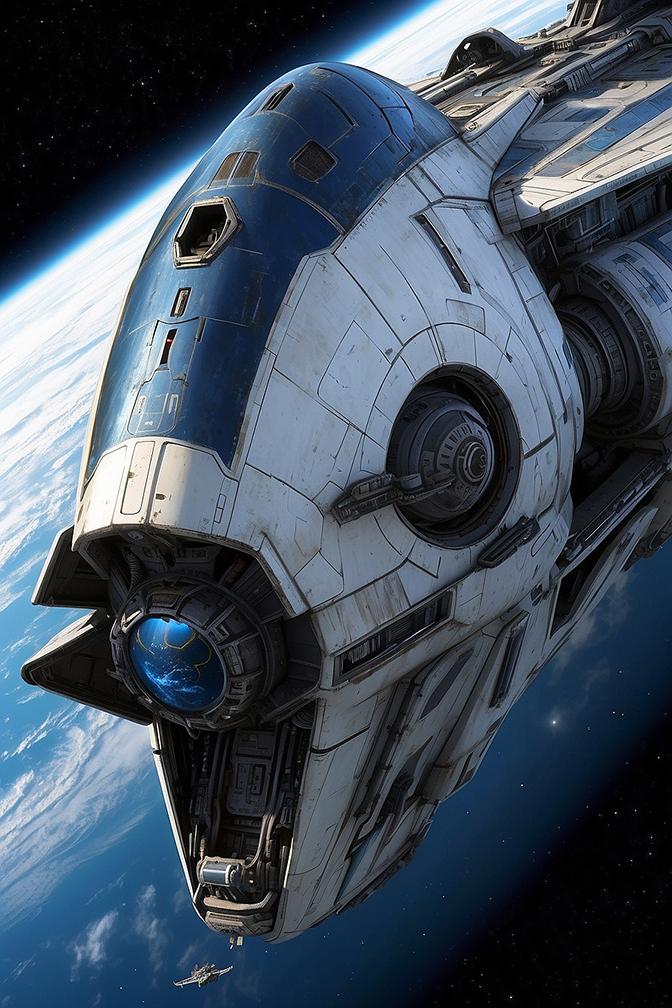
Composite Image (with additional painting in Photoshop), layer masking and colour balancing.
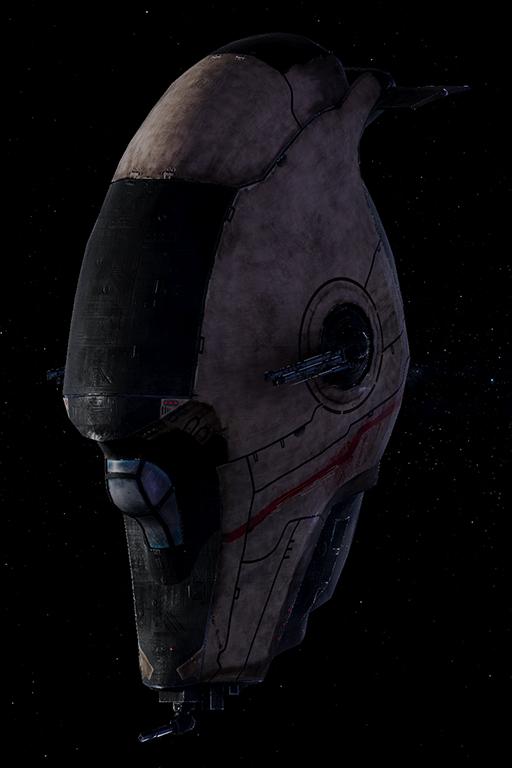
Final Image Upscaled (allowing Leonardo to add creative input to the upscale)
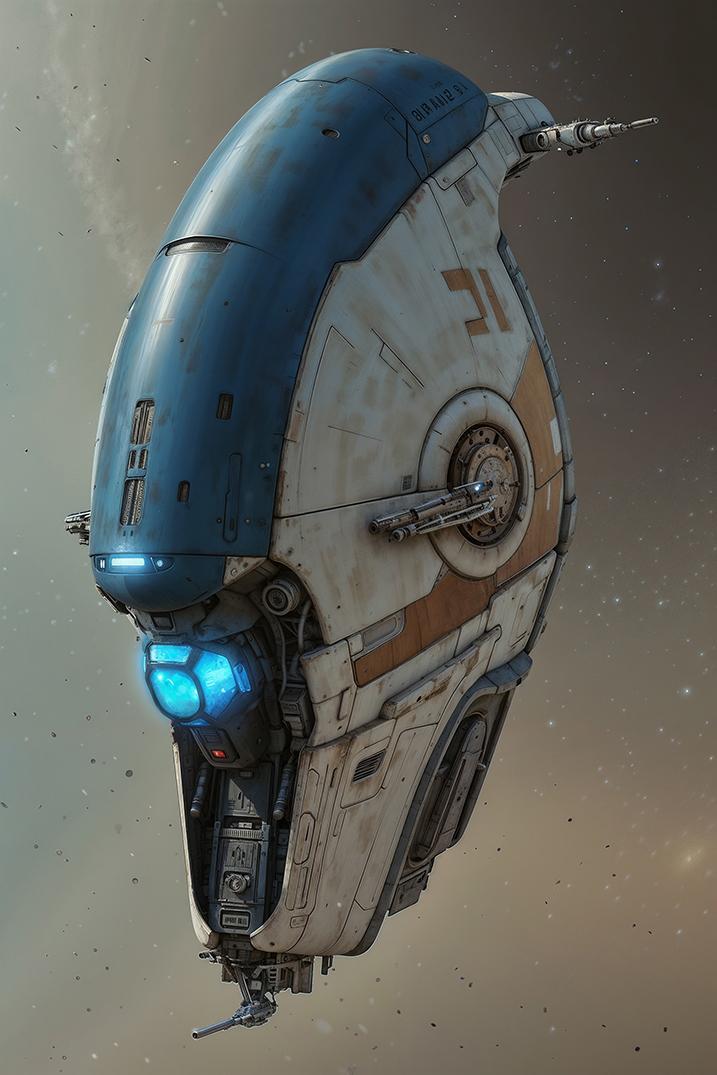
Although I haven't included the final hi-res version here, you can appreciate the level of detail added, with small pipes and cockpit details. I really liked the way the panels (between white and blue) have that bevel and the grime respects the bevel, following it around the form change.
Even using a single camera angle, you as the artist can fully explore your options in terms of textures, decals and even modelling edits. I think you'll agree, it blasted the original concept render... into space!
Hope you found this useful. Thanks for reading to the end, please spare a minute to share on social media.
Ian.
So the Slave Zero concept was drawn (middle image) and I tried to create a low poly model as a way to test 3D-Coat's relatively new modelling room. I basically wanted to test the pipeline, remaining inside 3D-Coat for the whole of the process (minus the sketching stage).
Needless to say, I set myself tricky task, as I didn't have the front view and the modelling tools were a little unfamiliar at the time. However I eventually got something I was happy with and then progressed to throw some grungy textures on there which were a mixture of repeating textures and projections from the sketch. This part didn't go that well, and in hind sight could have been approached in a better way.
On that point, its fair to say having a good idea of what you want at the beginning, is always a good starting point. I think I was trying to achieve too many different things at the same time, and ended up making a bit of a mess. Anyway... lesson learnt :)

This brings us conveniently up to date.
So (as by now, you're probably expecting) I decide to try and give this idea/model a re-visit, using my old pal, Leonardo AI. I didn't want to start the model & texture again, although it was very tempting. Instead I took the existing asset and set up a render in 3D-Coat used that as a starting point. I used a star field background and added a few lights just to try and help push the shape a little.
Using Image to Image I started using a strong value, keeping the results close to the original image. The results were interesting as it cleaned up the messy texture on the original. I specified the hull had grungy, well worn panelling (like most Star Wars vehicles) and it helped to visualise that.
I possible technique to a pre-texturing stage for your asset would be to throw on some ideas in terms of colour, bump etc and use that to experiment with what texture you actually want for your model. If I'd of followed this step originally, I would have thought a little more carefully and experimented a little more before committing the paint brush... AI you arrived on the scene a little late :) I really liked how it tightened the lines and added those 'greebles', to give it more solidity.

However I decided to push a little further and give it little more freedom, just to see what it would come up with. I do try to balance this process, as I know it will go crazy and give me maybe something wonderful, but not what I'm looking for. Here are some of the results...


They are all interesting variations, but not what I was looking for. Instead I tried to changed the prompt and added another control net module to the process. Instead of using Image to Image I decided to try Edge to Image and Depth. Remembering my previous blog post, it helped alot and I started to get more consistency with each output...

I thought this image was interesting to included as it gave a more illustration, painted quality to it, it was an early test where the model was angled slightly differently.


After running more of these through I was getting to a point where I felt I could cherry pick areas which I liked from a selected few and composite a new image which I would then upscale, allowing Leonardo to just tweak the upscale a little more in terms of creative input.
Composite Image (with additional painting in Photoshop), layer masking and colour balancing.

Final Image Upscaled (allowing Leonardo to add creative input to the upscale)

Although I haven't included the final hi-res version here, you can appreciate the level of detail added, with small pipes and cockpit details. I really liked the way the panels (between white and blue) have that bevel and the grime respects the bevel, following it around the form change.
Even using a single camera angle, you as the artist can fully explore your options in terms of textures, decals and even modelling edits. I think you'll agree, it blasted the original concept render... into space!
Hope you found this useful. Thanks for reading to the end, please spare a minute to share on social media.
Ian.