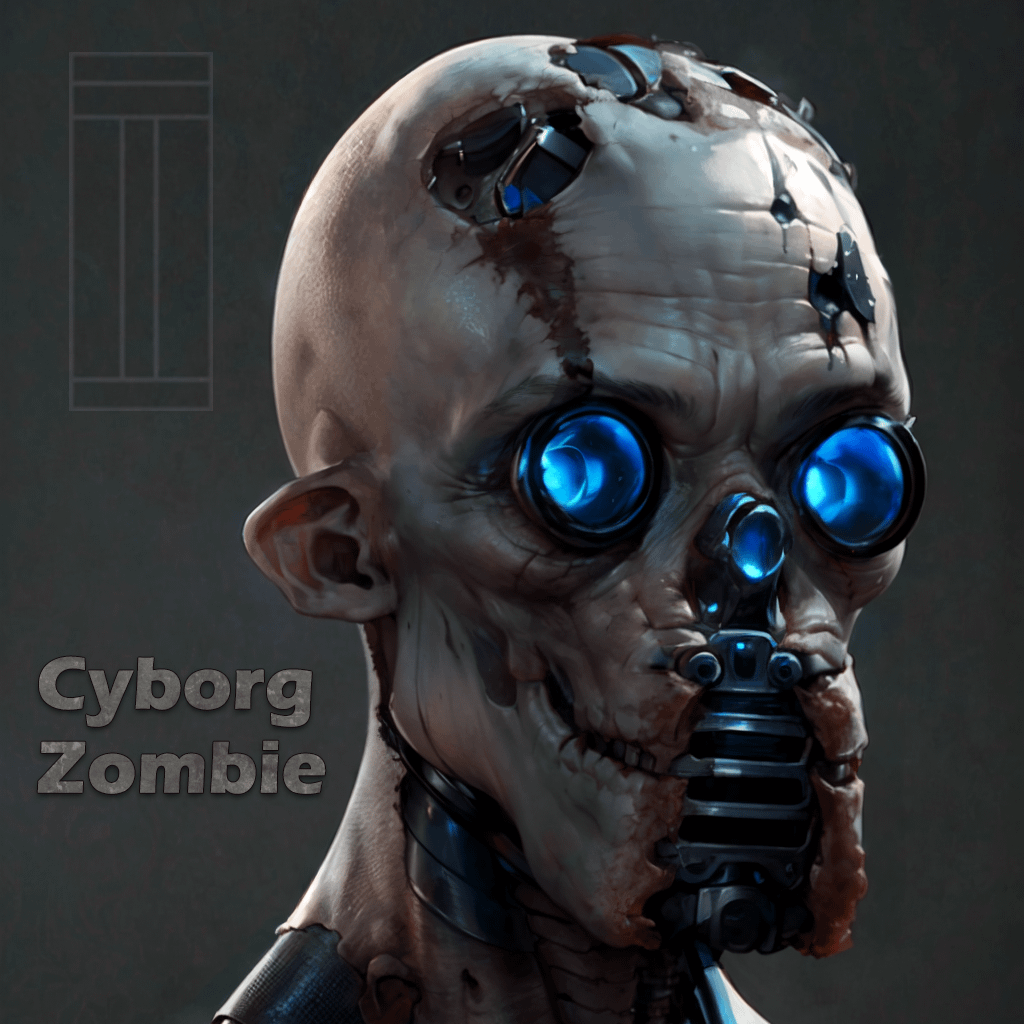
3D Head Concept with AI Polish
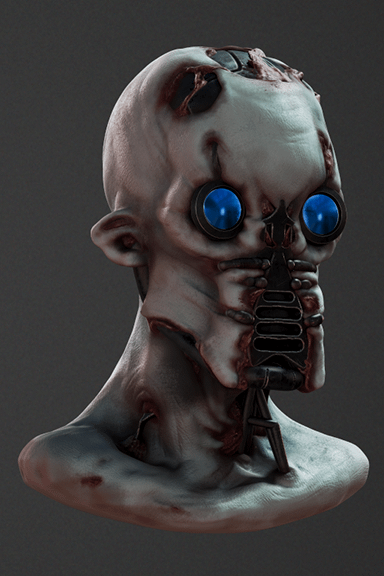
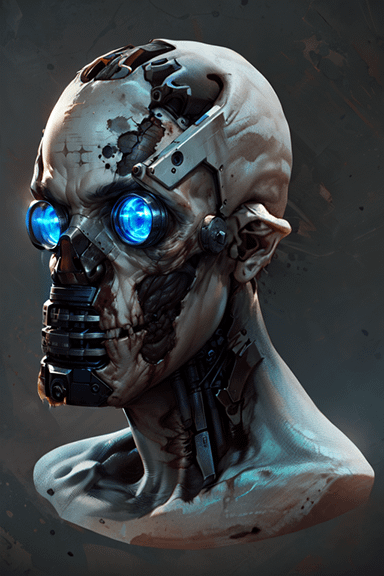
Zombie Cyborg head design concept using a base sculpt (Image A) as the starting point. One of the things I really like about 3D-Coat is voxels and more specifically the PBR shaders used in combination with voxel sculpts. Being able to tweak parameters for instant feedback of skin properties, baking SSS and layering up polypaint/vertex paint quick colour palettes providing freedom to explore.
The lens for the eyes used a tweaked default shader, all I needed to do was make sure I captured some reflections to iterate with later in the pipeline. Same for the metal elements, tweaking to make sure it catches the light to give that illusion of metal.
A key feature of 3D-Coat is the flexibility, sculpting on each layer itself and also building sculpted components individually to 'construct' the final piece, all with the ability to modify shaders layer by layer and paint over these shaders too.
Image A
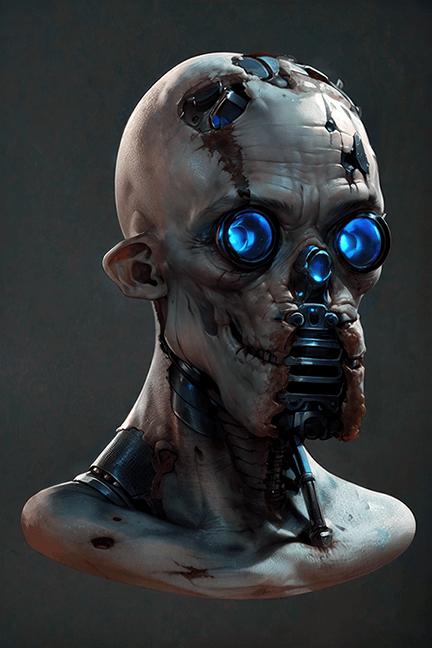
The sculpt is then polish using Stable Diffusion. I don't want some completely different so the quick renders taken from 3DC are used with I2I. I know what the design needs in terms of prompting, but again I experiment, sometimes giving alot of freedom other times, constraining the AI to my render. The results are fast and give that variation to cherry pick; I don't go back to 3DC at this point, but I do take variants into Photoshop to mask, hand paint areas that inspire and take the design forwards (Image 2)
Image 2
Variation Angles & Design Elements
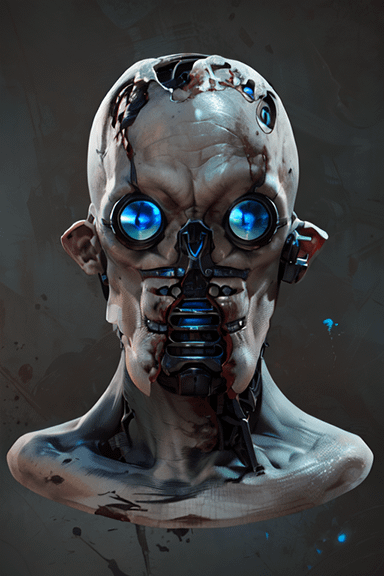
Below are a few design and angle variations of the sculpt, I produced in total 8 variations at different angles, helping to visualize the concept. Again a very fast process, giving more information how to create the best out come for a future game asset.
Note the design variation to the bridge of the nose and visualizing a variation to the design on the left side of the head. No post work on these iterations.
I have created various tutorials on 3D-Coat which you can find here > https://www.youtube.com/@IanThompson007
The lens for the eyes used a tweaked default shader, all I needed to do was make sure I captured some reflections to iterate with later in the pipeline. Same for the metal elements, tweaking to make sure it catches the light to give that illusion of metal.
A key feature of 3D-Coat is the flexibility, sculpting on each layer itself and also building sculpted components individually to 'construct' the final piece, all with the ability to modify shaders layer by layer and paint over these shaders too.
Image A

The sculpt is then polish using Stable Diffusion. I don't want some completely different so the quick renders taken from 3DC are used with I2I. I know what the design needs in terms of prompting, but again I experiment, sometimes giving alot of freedom other times, constraining the AI to my render. The results are fast and give that variation to cherry pick; I don't go back to 3DC at this point, but I do take variants into Photoshop to mask, hand paint areas that inspire and take the design forwards (Image 2)
Image 2

Variation Angles & Design Elements
Below are a few design and angle variations of the sculpt, I produced in total 8 variations at different angles, helping to visualize the concept. Again a very fast process, giving more information how to create the best out come for a future game asset.
Note the design variation to the bridge of the nose and visualizing a variation to the design on the left side of the head. No post work on these iterations.


I have created various tutorials on 3D-Coat which you can find here > https://www.youtube.com/@IanThompson007

